
Plastering is an age-old technique that has been used for centuries to create smooth and durable surfaces on walls and ceilings. It is both a skill and an art, requiring precision, patience, and attention to detail. Whether you’re a DIY enthusiast or aspiring to become a professional plasterer, mastering the art of plastering can elevate your home improvement projects to a whole new level. In this article, we will delve into the world of plastering, exploring the techniques, tools, and tips that will help you achieve exceptional results.
1. Understanding the Basics
Before diving into plastering, it’s essential to have a solid understanding of the basics. Plaster is a mixture of gypsum, lime, sand, and water that creates a workable paste. It is applied in layers to create a smooth and even surface. There are different types of plaster, including lime plaster, gypsum plaster, and cement plaster, each with its unique characteristics and uses.
2. Preparing the Surface
Surface preparation is key to achieving a flawless plaster finish. Start by ensuring that the surface is clean, free from dust, dirt, and loose particles. Repair any cracks or imperfections using suitable patching materials. If necessary, apply a bonding agent to promote adhesion between the existing surface and the plaster.
3. Mixing the Plaster
Properly mixing the plaster is crucial for achieving the right consistency. Follow the manufacturer’s instructions, and use the appropriate ratio of plaster to water. Consistency is key – the plaster should be smooth and creamy, neither too runny nor too thick. Use a mixing paddle and a drill to blend the plaster thoroughly until it reaches the desired consistency.
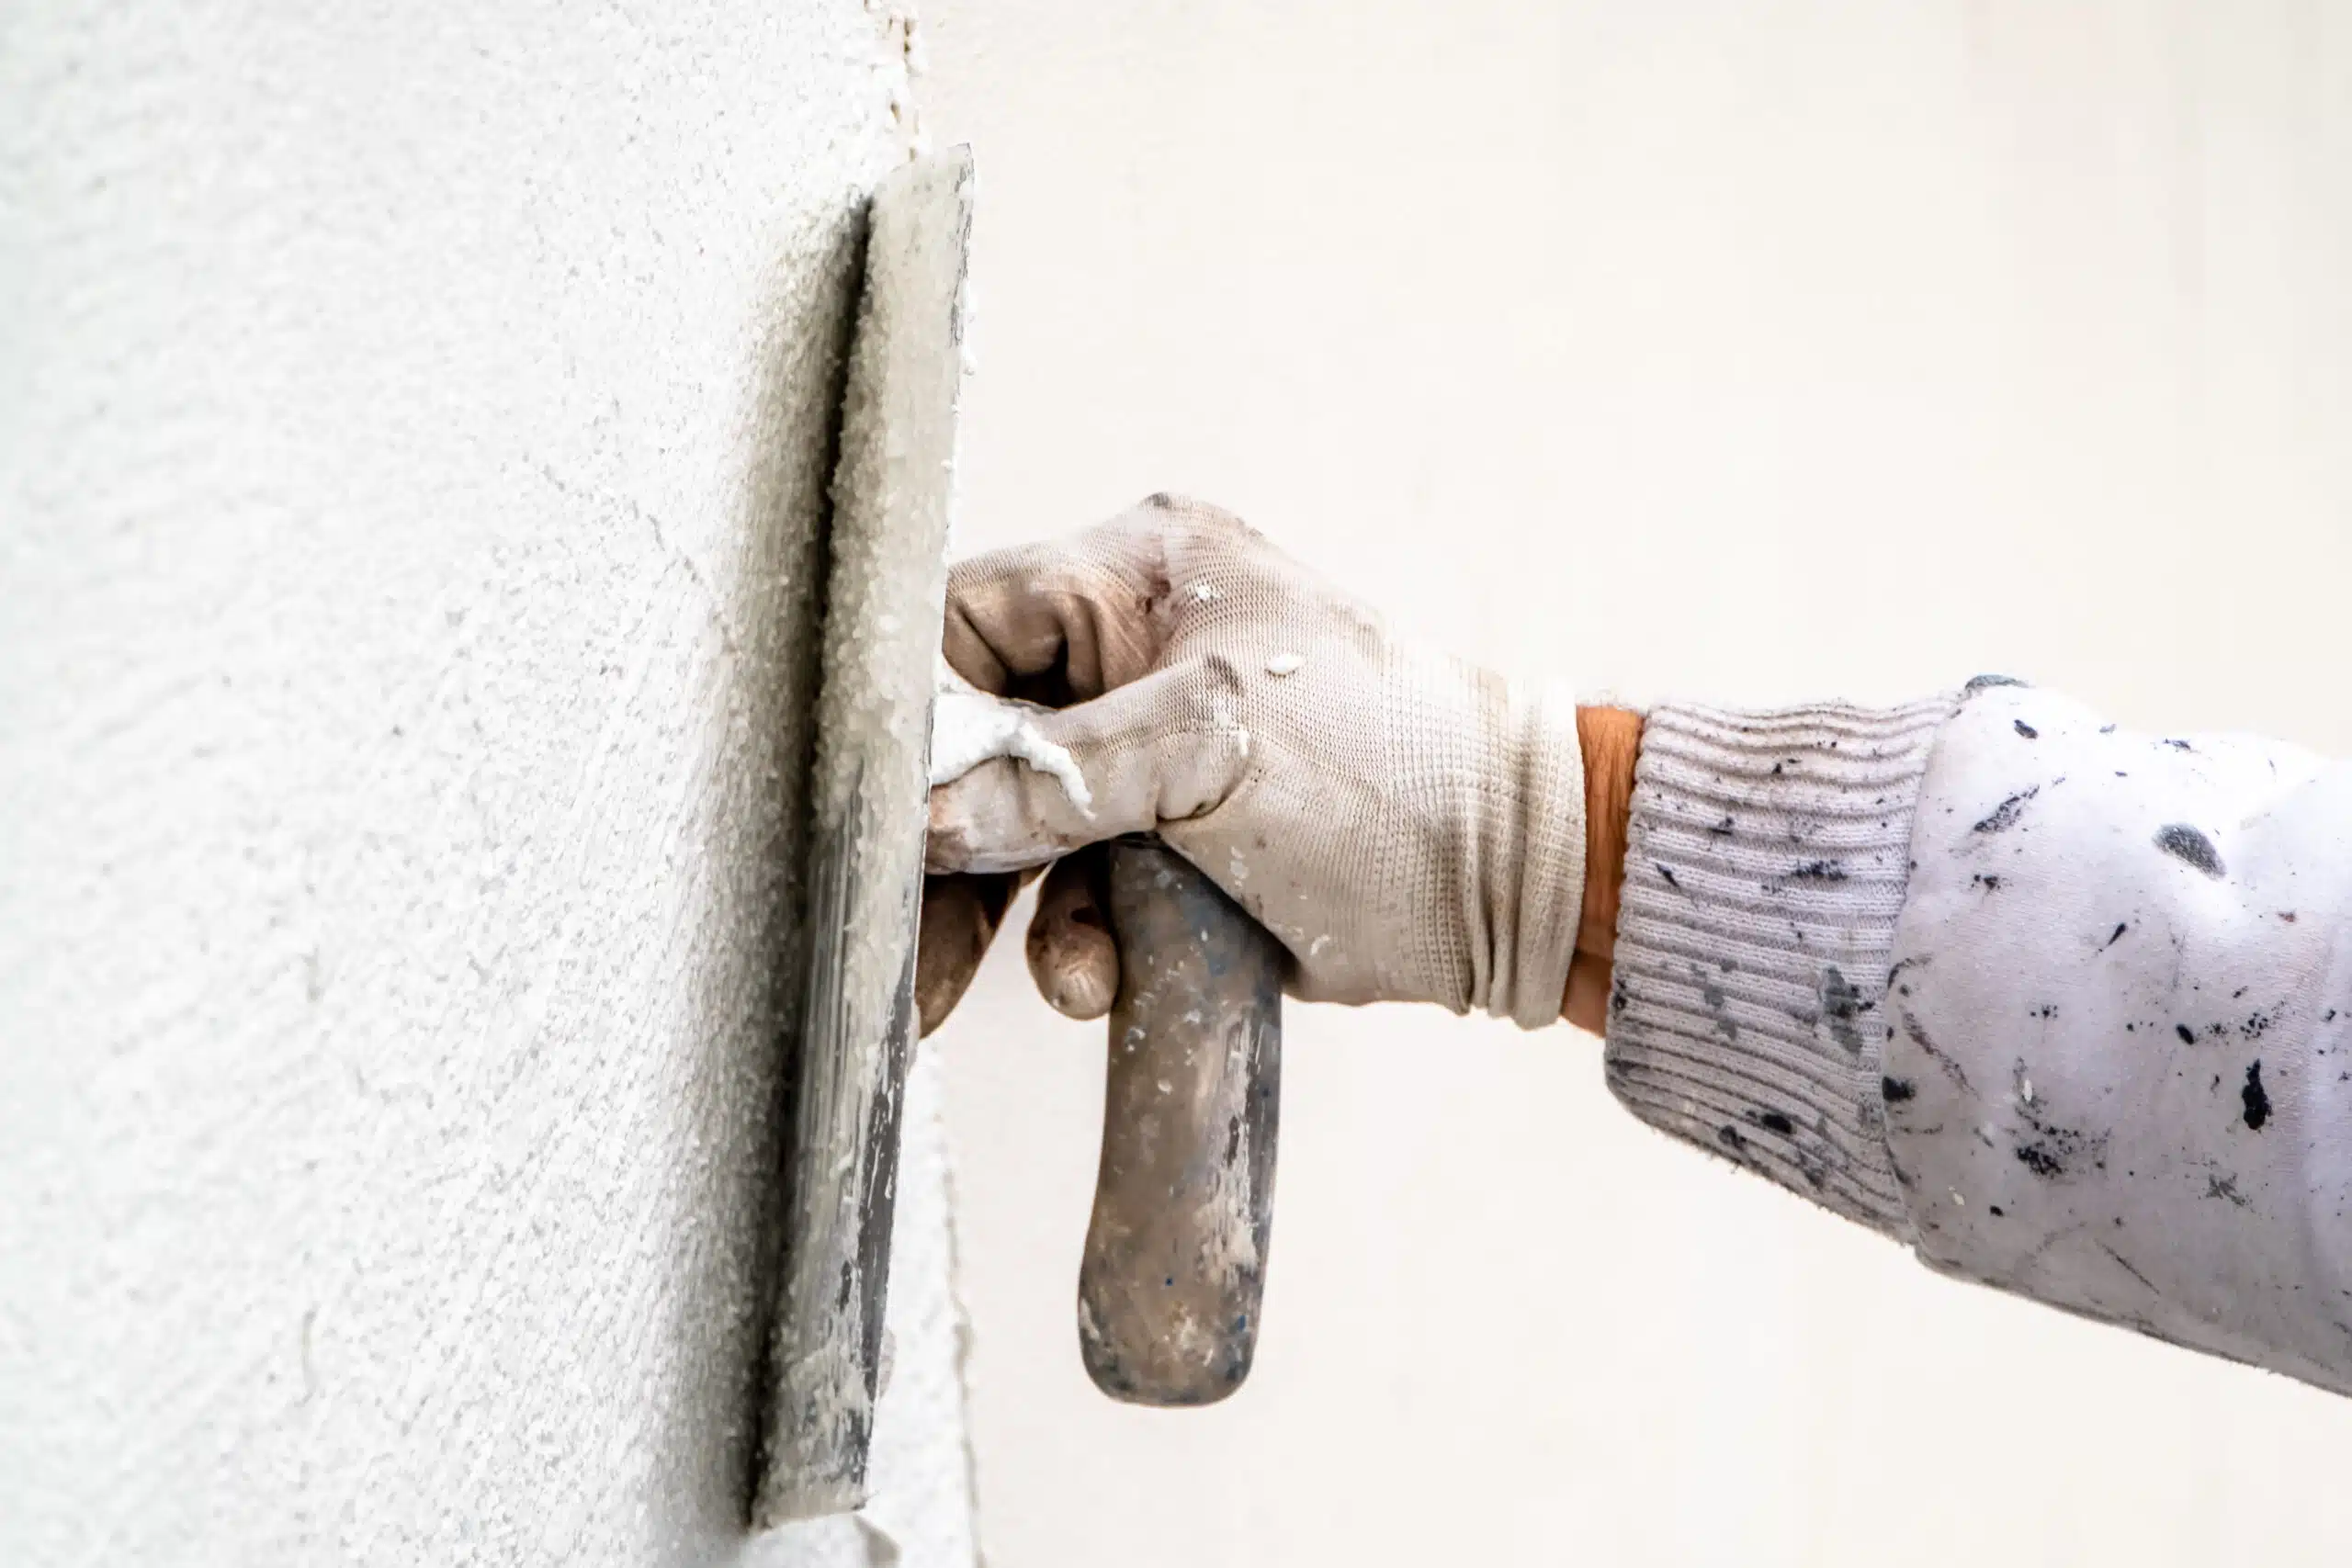
4. Applying the Plaster
When it comes to applying the plaster, there are different techniques to consider:
- Skimming: Skimming involves applying a thin coat of plaster to achieve a smooth and even finish. It is commonly used for patching or repairing existing walls.
- Float and Set: This technique involves applying two or three coats of plaster. The first coat, known as the float coat, is applied using a wooden float or trowel, followed by subsequent coats to build up the desired thickness.
- Rendering: Rendering is the application of plaster to external walls. It provides weather protection and improves the aesthetics of the building.
5. Mastering the Tools
Having the right tools is essential for achieving professional-looking plaster finishes. Some common tools used in plastering include:
- Trowels: Trowels come in different sizes and shapes and are used for applying and smoothing the plaster.
- Hawk: A hawk is a flat, square board with a handle that allows you to hold and carry the plaster conveniently.
- Plasterer’s Brush: A brush is used to wet the surface before applying the plaster, ensuring better adhesion.
- Darby or Straightedge: A Darby or straightedge is used to level and smooth the plaster surface.
6. Finishing Techniques
The final touches and finishing techniques can make a significant difference in the appearance of the plastered surface. Some common finishing techniques include:
- Feathering: Feathering involves smoothing the edges of the plaster to create a seamless transition between the plastered area and the surrounding surface.
- Sponging: Sponging is done when the plaster is partially set. Lightly dampen a sponge and gently go over the surface in a circular motion to achieve a smooth and textured finish.
- Scraping and Polishing: Scraping the surface with a trowel or a specialized plaster scraper can create unique textures and patterns. Polishing the surface with a float or a trowel can achieve a smooth and polished finish.
7. Practice and Patience
Plastering is a skill that requires practice and patience to master. Start with small projects and gradually work your way up to more significant undertakings. Take the time to learn and understand the techniques, experiment with different tools, and seek advice from experienced plasterers.
Plastering is an art form that can transform the appearance of your walls and ceilings. By understanding the basics, mastering the techniques, and investing in the right tools, you can achieve professional-level plaster finishes. Remember to prioritize surface preparation, mix the plaster correctly, and apply it using suitable techniques. With practice, patience, and a passion for craftsmanship, you can master the art of plastering and take your home improvement projects to new heights of excellence.
Cracked Brick and Stucco Repair from CDP Stucco
CDP Stucco has repaired cracked stucco for homeowners throughout Florida. If you are unsure if the cracks indicate foundation failure, a representative from CDP Stucco can provide an inspection to give you back peace of mind.
Contact us today for an inspection of your cracked stucco repair! If you are interested in Stucco Installation or Stucco Repair, call the experts at CDP Stucco now at 850-259-2283